GardenerGardens.com
Search
Menu
Close
Home
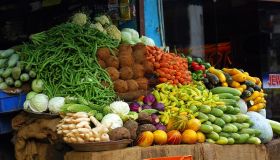
Vegetables
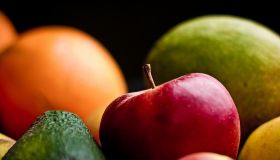
Fruit
Trees
Herbs
Shrubs
Flowers
Techniques
Info
Pests
Animals & Insects
Gardening Advice & Tips
Search
Jobs for the Garden in May
Potatoes
Solanum Tuberosum
Apples
Malus Domestica
Broad Beans
Vicia Faba
Vegetables
Fruit
Trees
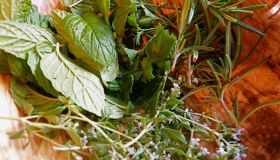
Herbs
Shrubs
Flowers
Techniques
Info
Pests
Animals & Insects
Birds
View a comprehensive list of birds, seen in the garden and elsewhere.